-->

Theme Layout

Boxed or Wide or Framed

Theme Translation

Display Featured Slider

Featured Slider Styles

[Centered][caption2]

Display Grid Slider

Grid Slider Styles

Display Trending Posts

Display Author Bio

Display Instagram Footer

Search

Powered by Blogger.
facebook follow follow me on instagram follow me on pinterest
Showing posts with label 203 Yumlington Place. Show all posts
Maple Bacon Bourbon Cupcakes

Maple Bacon Bourbon Cupcakes


Y'all. Not to toot my own horn or anything, but these were amazing. And I like bourbon zero percent of the time.


So one thing I learned about myself while making these is I'm not great at candying bacon. I'm not horrible at it, but there's definitely room for improvement! I think where I went wrong was on the cut of the bacon. I purchased basic, but definitely needed to get the thick cut--remember that when y'all are making it!


If I'm being completely honest (per usual), I definitely burned the heck out of a batch so these are from batch #2...I also accidentally put 2 sticks of butter in the microwave for 3 minutes instead of 30 seconds lolol. Baking is super glamorous at The Mint Cottage!


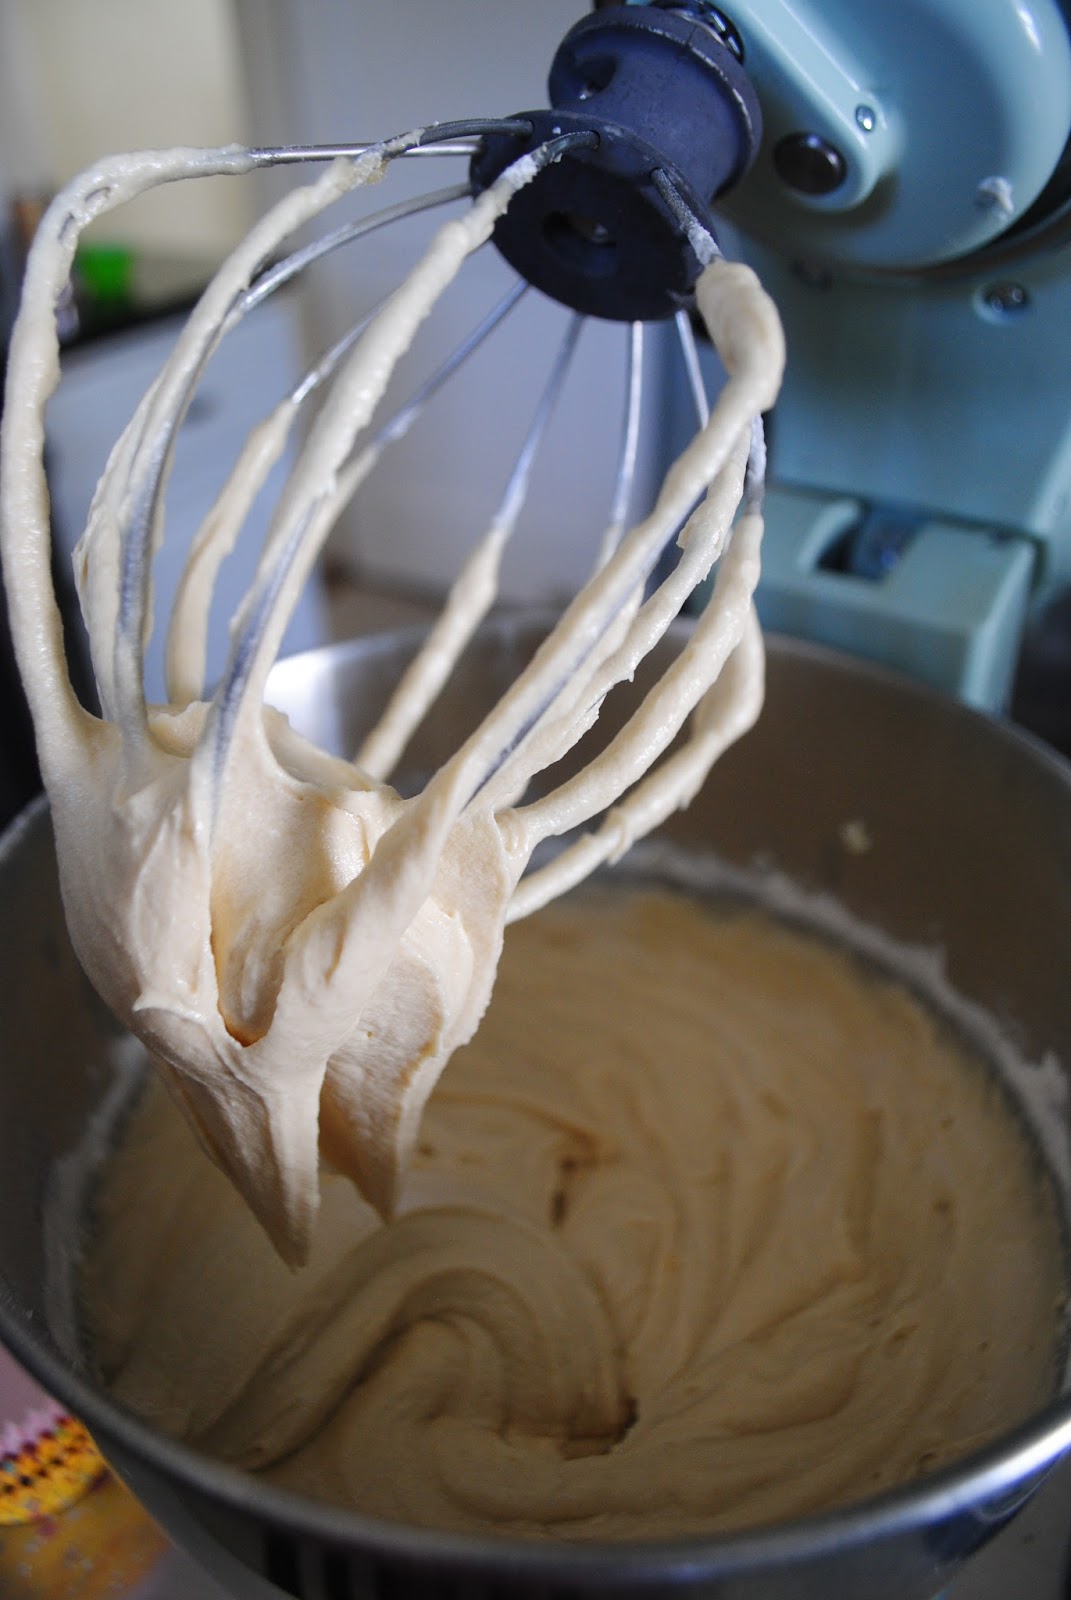
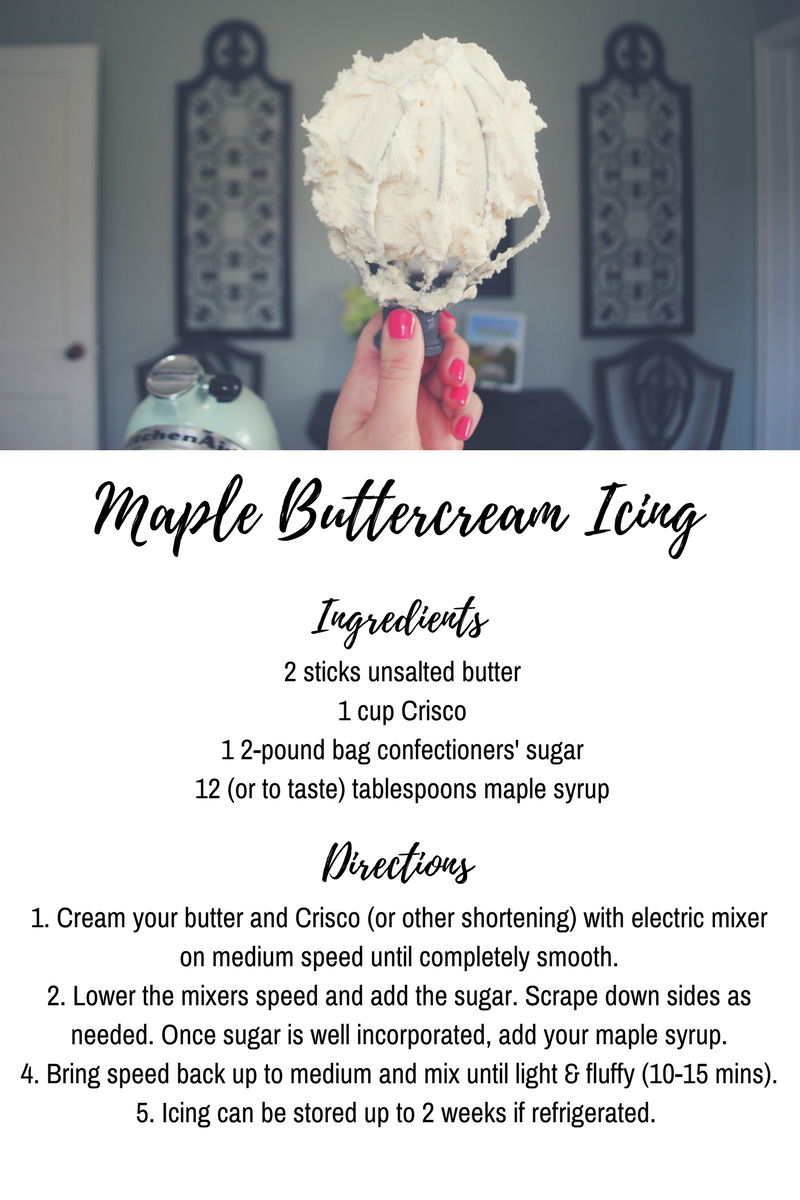
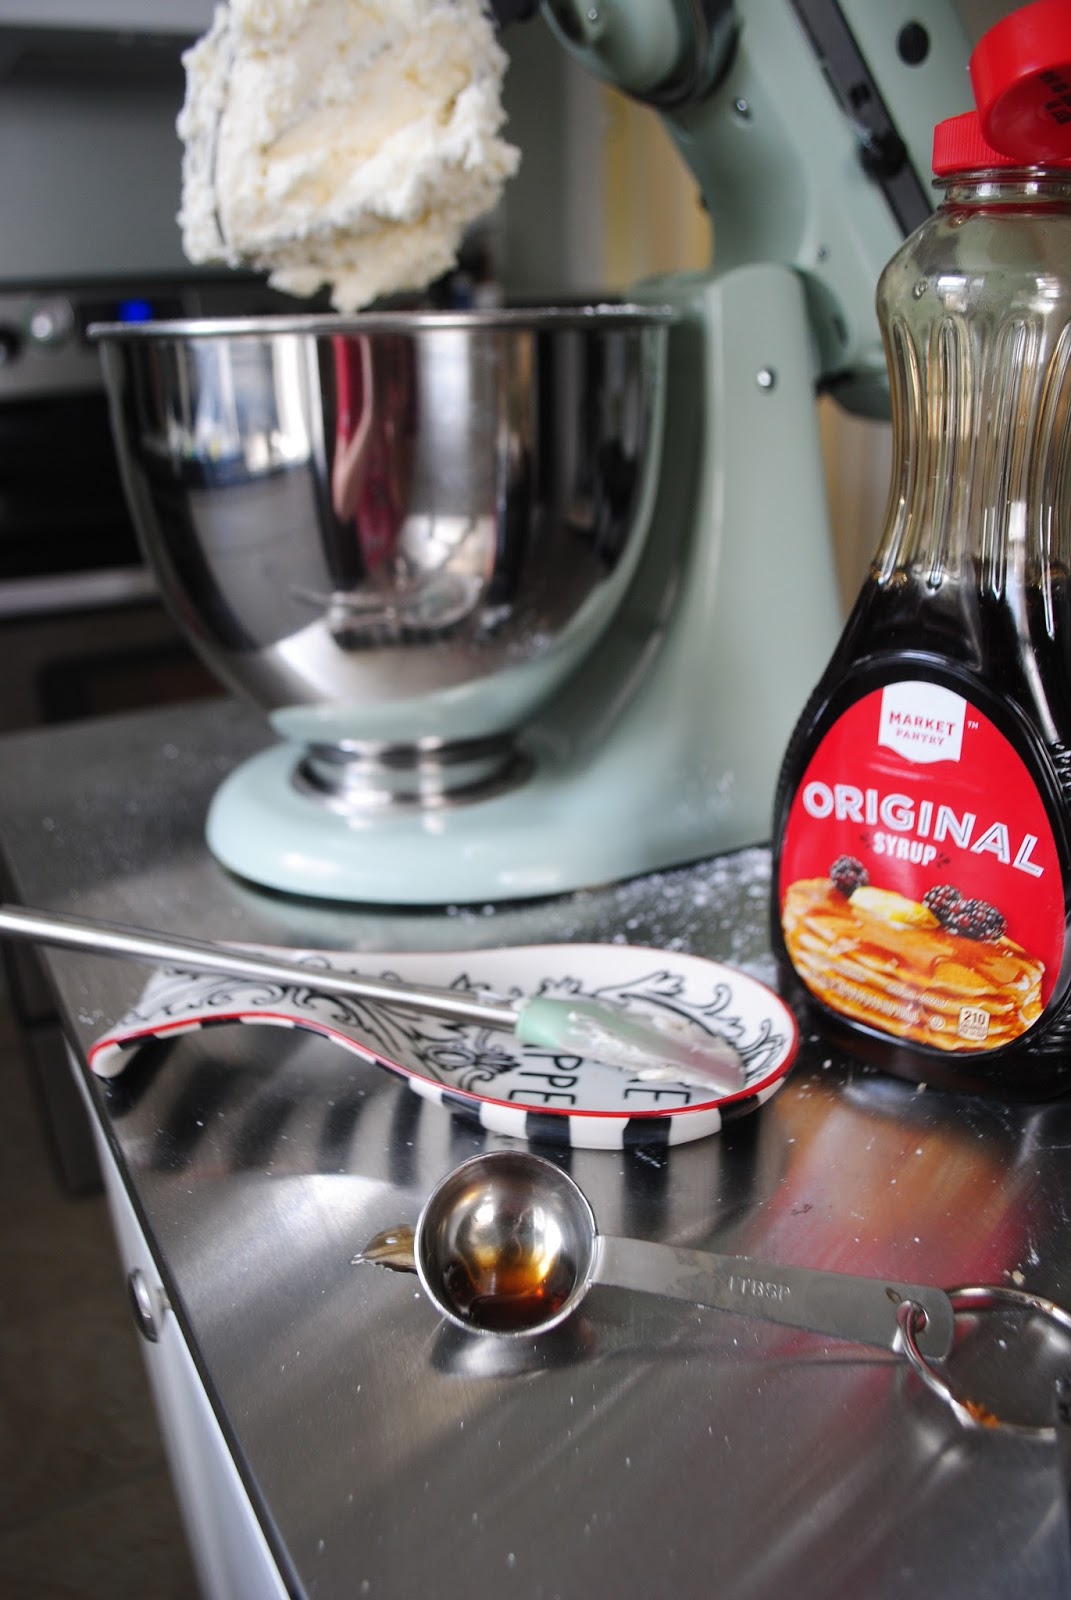
I first started with only 6ish tablespoons of maple syrup, but it wasn't quite enough so I just poured a bunch in until it was to my liking. Also, be prepared for things to get a little sticky!
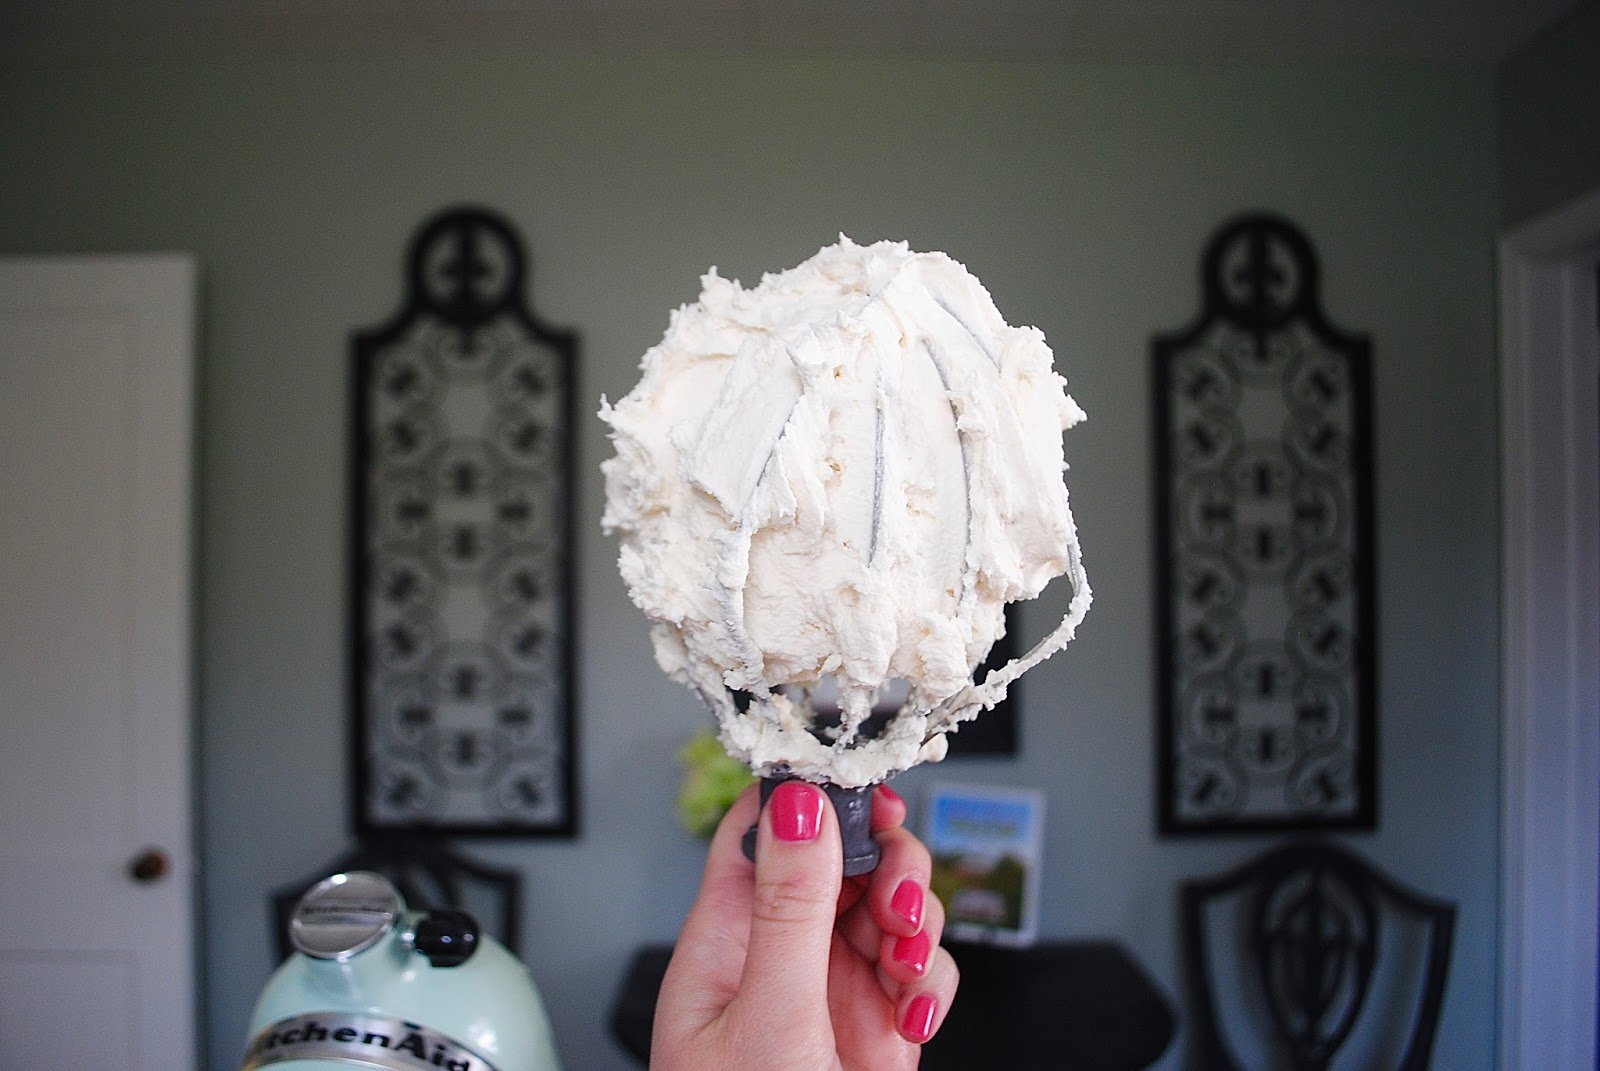

This icing was unbelievably tasty. It tasted just like a pancake--definitely wouldn't mind starting everyday with that as my breakfast!


I'm not gonna lie...I held my nose when pouring the bourbon. The smell was just a leeeeetle strong, and I'm not much of a dark liquor person in the first place. 

Now if it was tequila, then I probably would've snuck a little bit for myself! #TequilaGirlProbs


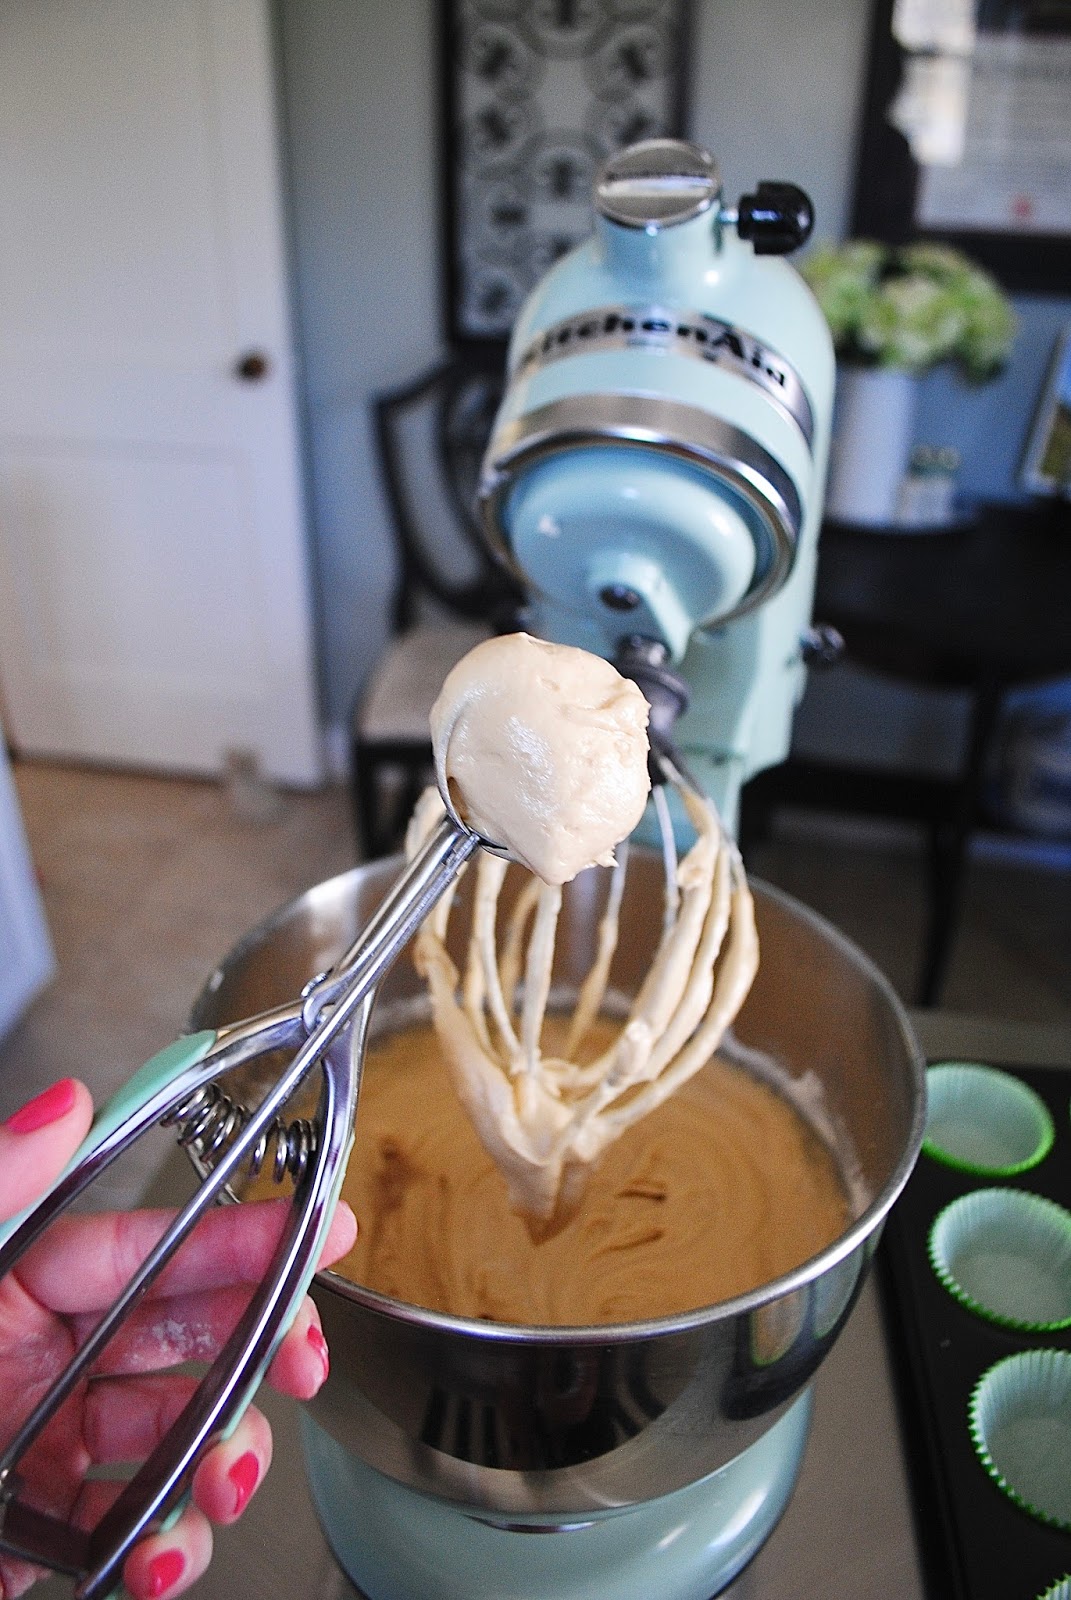

I know this seems a little dramatic, but my batter/dough scooper is life changing. Okay, very dramatic, but I do love it, and it's so much better and more accurate than if you were to pour your batter into each little cup. You can get the same one as me HERE!


The cakes almost tasted like a spice cake, and a few peeps actually thought it was some kind of cinnamon/spice-y cake. Crazy thing is there's no other added flavor besides the bourbon! 

Sidenote: You know you have friends that totally get you when they give you things like this cake stand! 

Because I had never made these before, I was a little nervous about the baking time and how the liquor would affect the overall cupcake. Sadly, my "jiggle test" doesn't really apply for these baby cakes; and keep in mind that each oven is going to be different, so just start with a shorter amount of time and keep an eye on them.


You don't need a piping bag and tip to ice your cakes like this. A Ziploc bag with the corner cut will also do the trick!
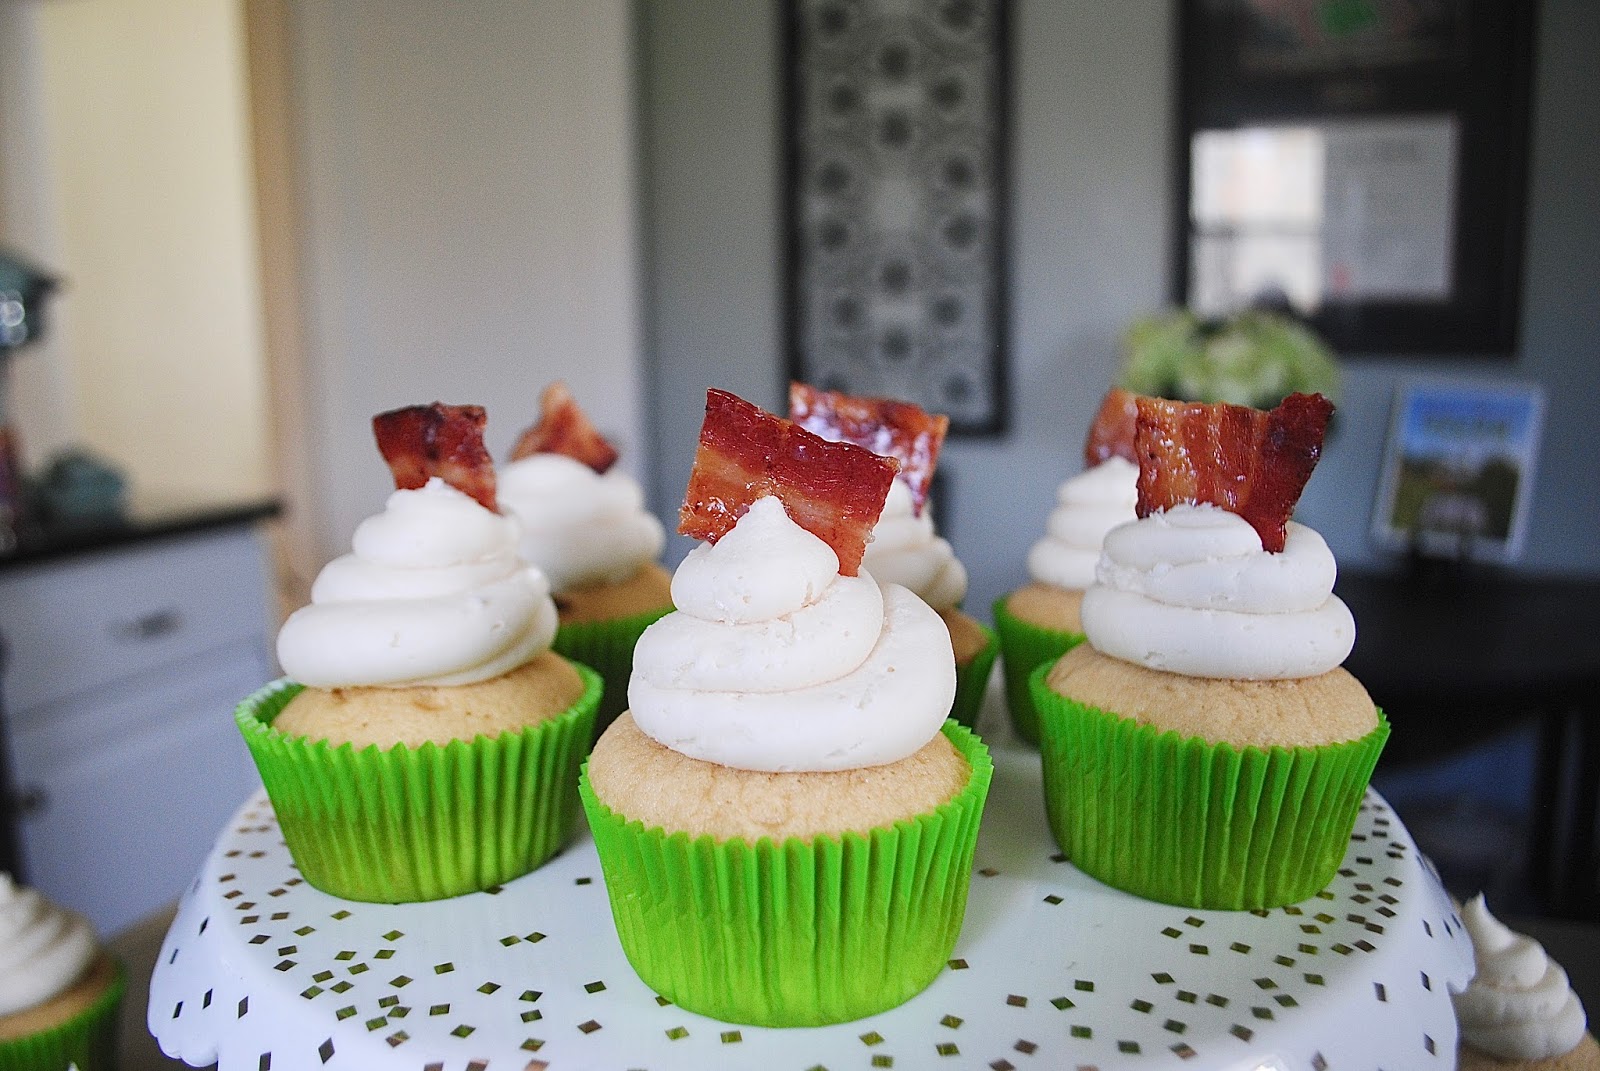


These flavors were really the perfect combo. You have the saltiness of the bacon, the sweetness of the icing, and the cupcake balances those out so it's not super overwhelming as a whole.

Enjoy!


Read more »
Lgoodstat
0 Comments
Hostess With The Mostest: Cookie Edition

Hostess With The Mostest: Cookie Edition


Being at the ripe old age of 26, I am at the forefront of life's chapter that features all the weddings and baby showers. None of which are mine, though. Still single as a dollar bill over here!


As the friend of all the brides- and mamas-to-be, and as a girl who is just a sucker for a sweet party favor, it is my duty to provide the customized goodies for each shower. It may not be a piece of cake, but I’m here to tell you that you don’t have to be a cookie connoisseur, or a sweets specialist to whip up your own edible favors. Below you’ll find my 203YP step-by-step baker’s guide that will have your ladies saying “Yes to the (cookie) dress!” and “Oh, baby--these are cute!”


I first start by choosing the colors and design I want to utilize. These typically depend on what kind of gathering I’m having or going to: baby shower, gender reveal, wedding/bridal shower, rehearsal dinner, etc. For the baby parties I’ll go with the baby gender, or neutral colors for the reveals. With the wedding showers and rehearsal dinners, I’ll base my colors on the other decor or the bride’s reception colors if she’s chosen those.


Y'all. My Crate & Barrel marble pastry board and matching rolling pin are my absolute favorite kitchen accessory! My cookie dough rolls out and cuts on it super well, plus, it looks great on my counter when not in use! 

Now I can’t share my 203YP cookie recipe, but I’m still happy to share some basic tips with y’all! You’ll want to use a basic sugar cookie recipe. I make my dough in advance to give it time to refrigerate before I roll it out and cut my shapes--my dough is  otherwise very unmanageable if I don’t. I’ll refrigerate for 12-24 hours, but if I need to make some in a pinch, then I’ll just pop in the freezer for 30 minutes to an hour. If your time is limited, feel free to instead grab a sugar slice-and-bake log from the supermarket!

After the refrigeration process, I’ll roll out my dough onto my pastry slab. A clean counter space will work just as well. I’ll first throw down some flour and roll my dough out to be about a quarter inch thick.


I purchase almost all of my shapes from my local Sur la table!


From here, I cut my shapes and bake according to the directions my recipe calls for. Once baked, set out to cool, or pop them in the fridge for a quicker cooling process.


...or in this case, icing on the cookie! I make my royal icing from scratch using a meringue powder and confectioners’ sugar recipe, but for the sake of your time and energy, you can use the Wilton royal icing box mix. You can also purchase Wilton’s cookie icing tubes for your fills and flooding.

Once I have my base icing made, I divide it up into however many colors I plan to use. Any type of food coloring will work (gel, drops, etc.). I then transfer my icings into piping bags with my decorating tips already in them. Tips are not required--making a small cut at the end of your bags will also work.


I make my outline icings a little thicker than those I use for my fillings, so I'll make those first, and then thin out the remaining icing that I'll use for flooding. Next, I outline all of my cookies and let those sit to dry.


Next, I flood (fill) each cookie. You may need to use a toothpick or sharp point to spread your icing around a bit. Once my batch is flooded completely,I try to allow my cookies to sit for 6-8 hours before adding designs to ensure colors don't bleed; so, if you are making these a day or 2 in advance, then I recommend this timeframe, otherwise, for quicker results, you can pop them in the fridge until hardened.


Time to design! This is my favorite part. Whether I'm adding simple shapes, words, or a more intricate design, I always practice on a paper towel to make sure I (kinda) know what I'm doing! I typically will jot down a couple different ideas and see which one I'm best at.


Like a bride without her something old, new, borrowed, and blue, my cookies aren't quite ready for their debut without their finishing touches!

For me, presentation is very important, so each cookie is wrapped in a cute baggy, and tied closed with a card or sweet note.


My little baggies and string for tying both come from Michael's: Blue & Clear Cello Bag Kit and 


Now if there's one thing you take away from this post, I hope it's this: The gift of hospitality comes in all sorts of shapes and sizes! There's certainly no such thing as one size fits all here at 203YP.


Lastly, remember to have fun along the way! It's okay if they don't look perfect--no matter what, it'll be love at first bite for your bride-to-be and guests. And when it comes to mamas-to-be...I don't think I've ever met one that discriminates against cookies!

Read more »
Lgoodstat
0 Comments
[name=Lindsey] [img=https://blogger.googleusercontent.com/img/b/R29vZ2xl/AVvXsEhIZo103-X9sb8KV08pHrxb5ET5nWahtRXEkU5-h7Vhk0LP9e7tcu7adeE0wFYSrzV7qAAvFtMP-vBu94ImpKVp4G8BgummdvHxVyvumJVjTTPl9mCq_Sj6DFP5zqPJib8ezjD4m-m_oxtn/s100/DSC_0278.jpg] [description=Thanks so much for stopping by! I'm always always always looking for new recipes, decor ideas, and good company, so please feel free to leave a comment or reach out to me via email. Don't forget to subscribe for 203YP updates! And if you're looking to place an order, head to the "Request A Sweet Order" page!] (facebook=https://www.facebook.com/linds.eli) (instagram=https://www.instagram.com/lgoodstat/) (pinterest=https://www.pinterest.com/lgoodstat/)

Follow @georgialoustudios